Configuring Your Default Serials
One of the most difficult intersections of Inventory management, Order management, warranty tracking, traceability, and compliance stems from a deceptively simple question. How do you serialize a finished product, or “subassembly”, in the build process? Depending on the requirements your company needs to meet, serials need to be unique to a product line, a business unit, or across the entire company.
Cetec ERP has a robust and flexible system for managing all levels of serials and unique identification (UIDs). It’s easy to set up within your system. In this article, we’ll walk through the steps you need to take.
-
Start in the Admin page. Select the Config Settings tab and choose Formats (Serials, etc.) from the dropdown menu.
-
Enter SERIAL_NUM_1 in the Default Serial Format field and click Update.
-
Go to any work order and, using any number, issue a serial. This will trigger the config setting needed in the next step to appear in the system.
-
Delete that serial.
-
Return to the Admin page and select the Config Settings tab. Select “Config Settings” from the dropdown menu and go to output_num_1.
You can have multiple ‘series’ of incrementing serials by using SERIAL_NUM_X. Each ‘x’ represents a different output, and different sequence. This means you could set up a discreet serial incrementer across one business unit, a production line, or per product.
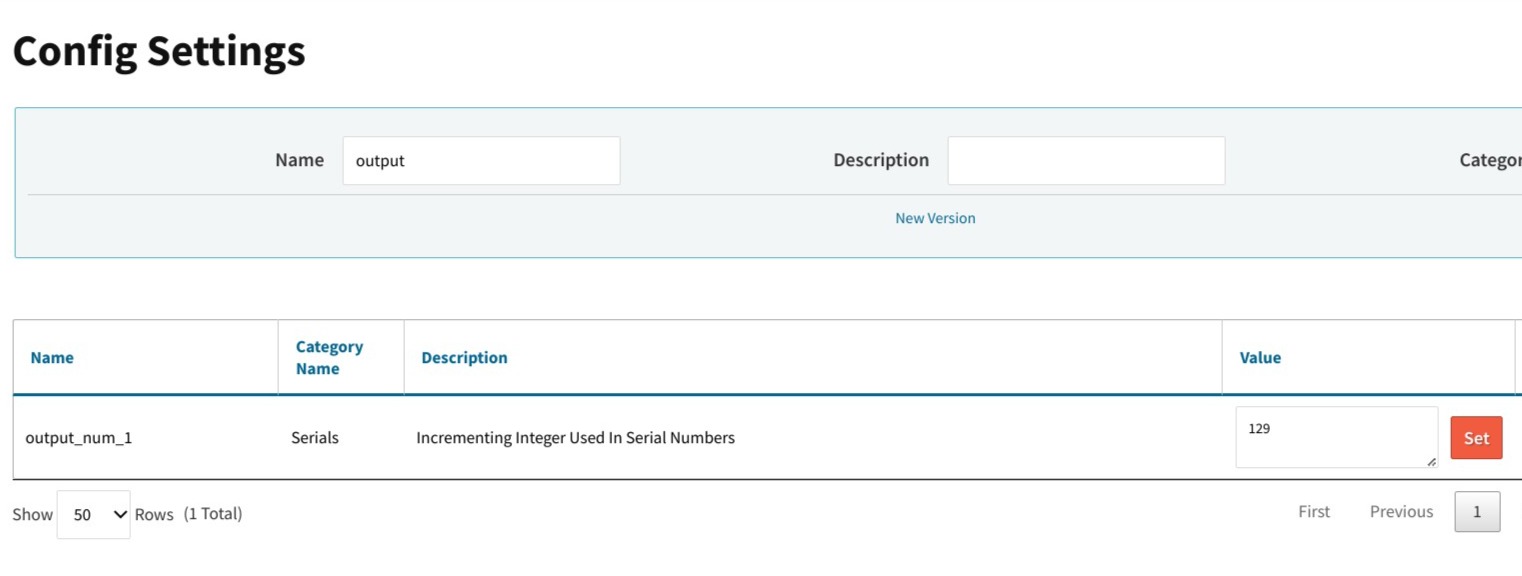
6/ Enter the most recent serial number you’ve issued (not counting step 3) and click Set.
This tells Cetec to start at the next number after that when issuing its next serial. (For example, if you enter output_num_17 in the field, the next time Cetec issues a serial, it will start at 18.)