Optimizing Commodity Codes in Cetec ERP
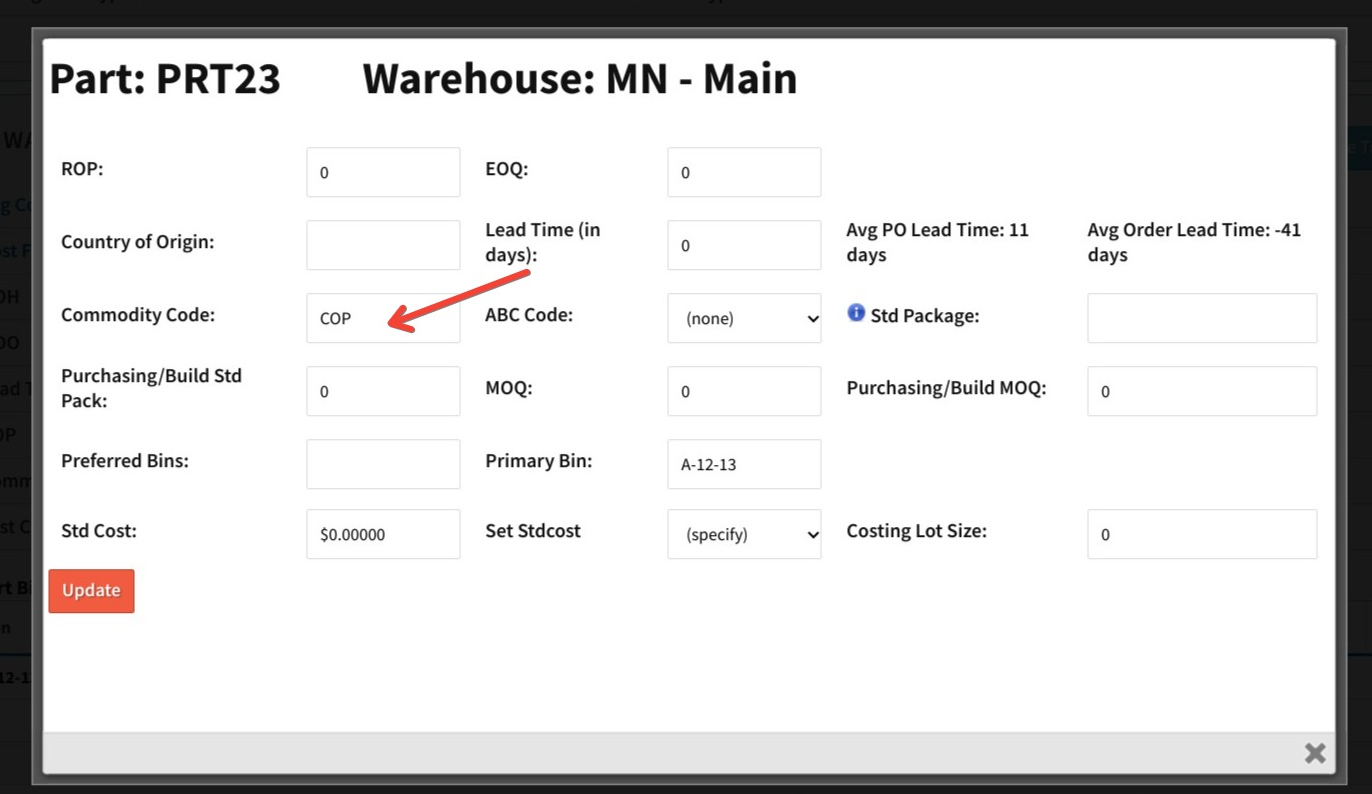
For businesses using Cetec ERP, managing commodity codes efficiently can significantly streamline your purchasing process. If you’re looking to configure and utilize commodity codes but are unsure how to do so, here’s a straightforward guide to help you get started. To begin, navigate to the part record section of your Cetec ERP. You’ll want to locate the part record you wish to edit. Once there, scroll down to find the warehouse part record section. Look for the pencil icon, which indicates the option to edit this record.

Clicking on the pencil icon will open an interface where you can input or adjust the commodity code for that part. Enter the desired code into the appropriate field. For instance, if you want “Copper” as a commodity code, you could utilize “Cop” as your code. This step ensures that each part is accurately categorized, aiding in more efficient inventory and purchasing processes.

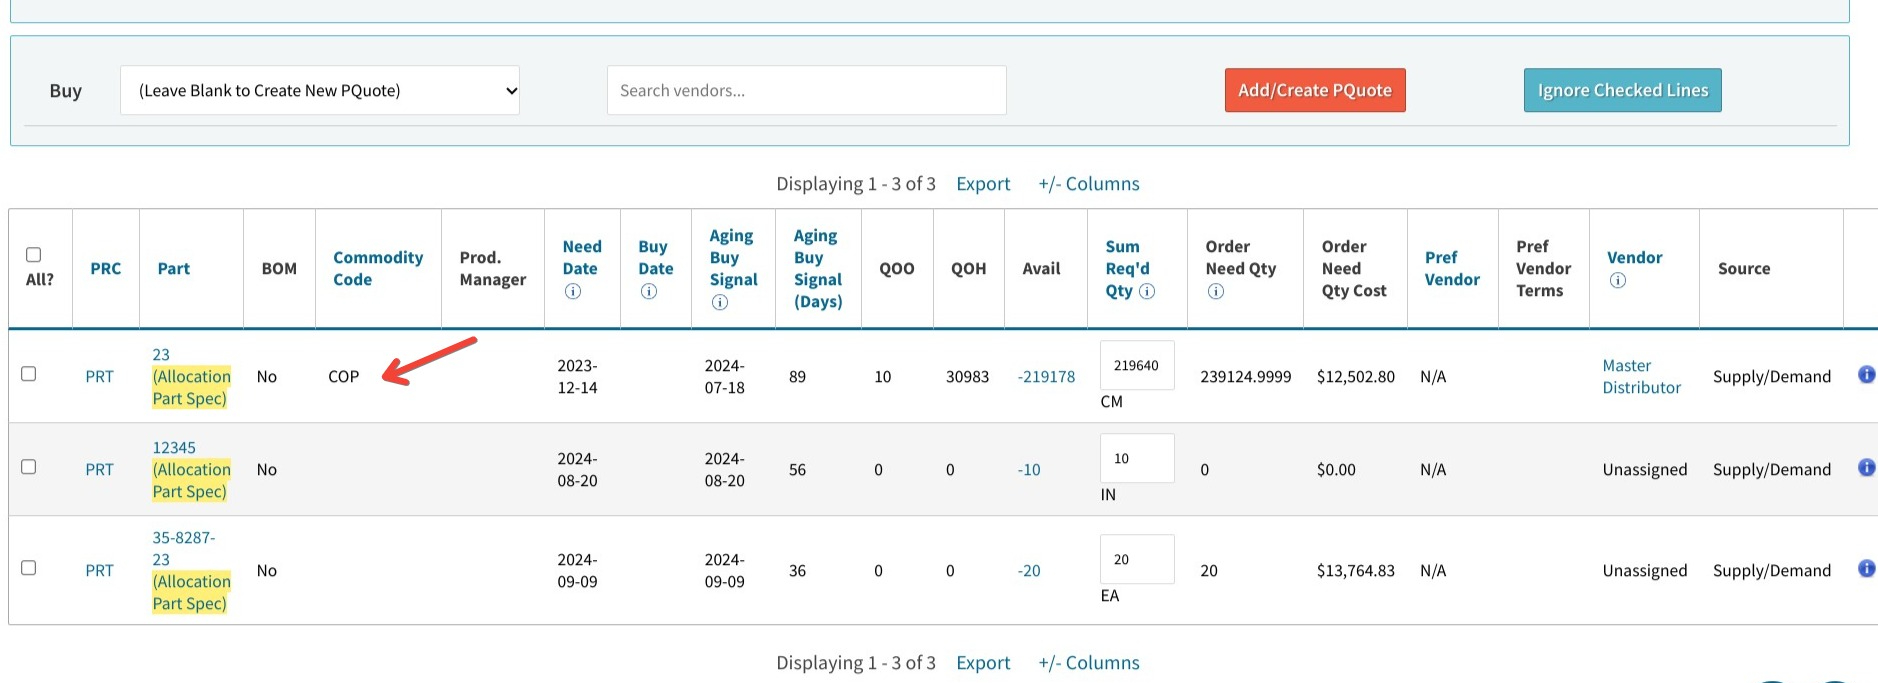
After setting up the commodity codes, the next step is to ensure they are visible in MRP. To do this, you’ll need to adjust your filter settings. Specifically, you’ll want to “unhide” the Commodity Code field. When running MRP, access the columns filter settings, marked with a “+” or “Columns” label. In this menu, enable the Commodity Code filter. This adjustment will make the commodity codes visible in MRP reporting, allowing you to filter parts based on their codes.

By following these steps, you’ll be able to leverage commodity codes effectively within Cetec ERP, enhancing your inventory management and purchasing workflows.