Custom Roles
Sometimes ERP administration can feel a little daunting. How do you make sure that you have control of your data, and that employees do not have visibility to information that you would like to keep accessible to administrators only?
The answer is to take advantage of user custom access roles and user permissions to protect your data and prevent users from performing unwanted actions.
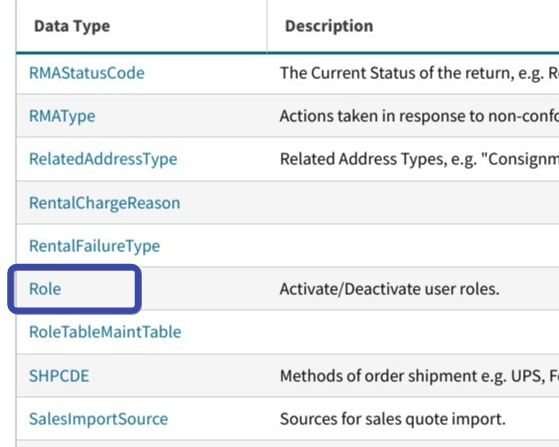
To create a new user role in Cetec, head to the Admin window and select the maintenance tab, then choose “Data Maintenance” from the dropdown menu. Search Data Maintenance for the Role table.

Under the Role data maintenance table, click Add Row and enter a name for the new role, a description, and a parent ID (if applicable).
Parent ID: Enter the ID of an existing role that will be this role’s parent(s). Separate multiple IDs by using a comma.

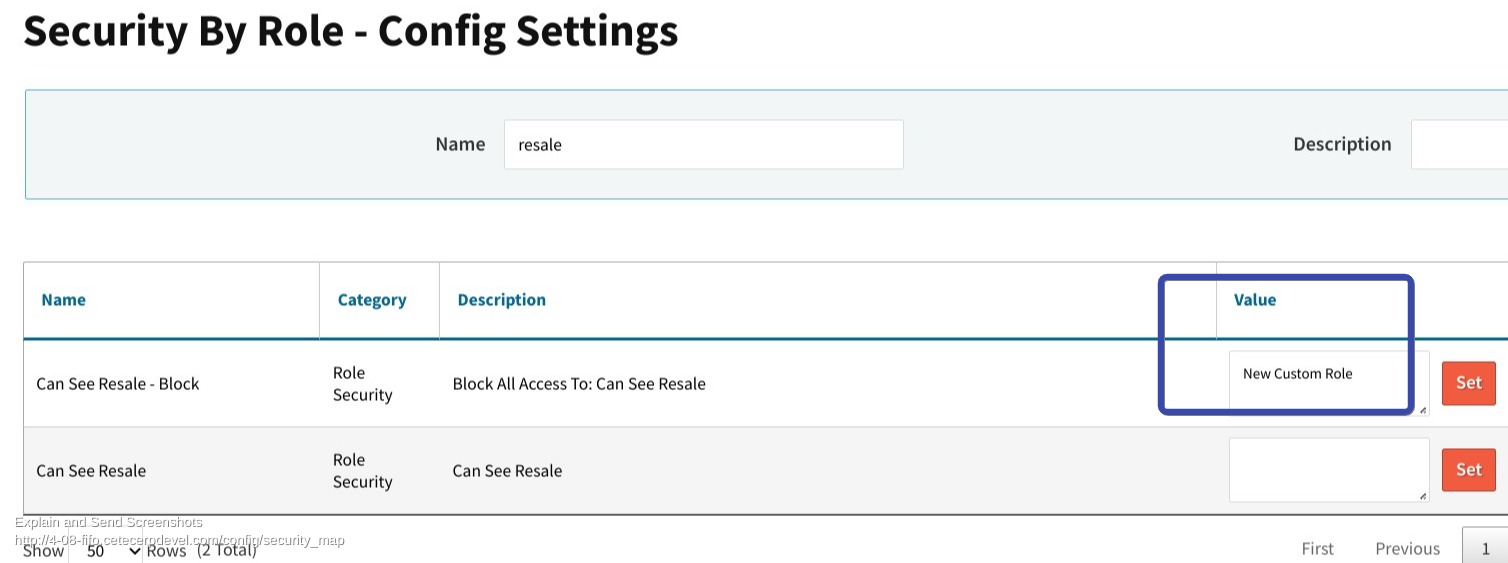
Once the role is created, you can use the Security By Role page from the Users dropdown menu on the Admin screen, and add the role name to the Value column of a security permission or block.
In the example below we have added our “New Custom Role” to the “Can see Resale - Block” security config setting. Now as we assign this role to a user, they will be unable to see Resale in Cetec ERP.

Cetec ERP gives the ability to create custom roles to meet company needs for greater visibility, increased security and user efficiency. You will have peace of mind knowing that your data has been partitioned according to your needs, while still allowing critical data to be easily accessible to the users who need it.